AR Info Tech

May 2024

Top 9 Best Hosting Service Providers of 2024: Find the Perfect Fit for Your Website

Top 9 Best Hosting Service Providers of 2024: Find the Perfect Fit for Your Website

Choosing the best hosting service is essential for your website’s performance, security, and overall success. With a plethora of options available, it can be challenging to decide which provider suits your needs. Here’s a comprehensive look at some of the top hosting service providers in 2024, catering to various requirements and budgets.

1. Bluehost

Best For: Beginners and WordPress Users

Bluehost is a favorite among beginners and WordPress users due to its simplicity and robust support.

Key Features

  • Free Domain: For the first year.
  • 1-Click WordPress Install: Easy setup for WordPress websites.
  • 24/7 Support: Via chat, phone, or email.
  • Money-Back Guarantee: 30 days.

Pricing

Basic Plan: Starts at $2.95/month.

Bluehost combines affordability with user-friendly features, making it perfect for newcomers.

2. SiteGround

Best For: Speed and Customer Support

SiteGround is known for its exceptional speed and top-notch customer service.

Key Features:

  • SuperCacher: Boosts website speed.
  • Free Daily Backups: Automatic daily backups.
  • Managed WordPress Hosting: Simplified WordPress management.
  • Advanced Security Features: Free SSL, daily backups, and anti-hack systems.

Pricing

StartUp Plan: Starts at $3.99/month.

SiteGround is ideal for those who prioritize speed and outstanding support.

3. A2 Hosting

Best For: Speed and Developer-Friendly Environment

A2 Hosting offers high performance and flexibility, making it popular among developers.

Key Features

  • Turbo Servers: Up to 20x faster load times.
  • Free Site Migrations: Hassle-free site transfer.
  • Anytime Money-Back Guarantee: Reflects confidence in their service.
  • Developer-Friendly: Supports multiple PHP versions, MySQL, PostgreSQL, and more.

Pricing

  • Startup Plan: Starts at $2.99/month.

A2 Hosting is perfect for developers and those needing more power and customization.

4. HostGator

Best For: Budget-Friendly Hosting

HostGator provides affordable hosting without sacrificing quality, ideal for small businesses and personal websites.

Key Features:

  • Unmetered Bandwidth: No traffic limits.
  • Free Website Builder: Easy site creation.
  • 45-Day Money-Back Guarantee: Generous trial period.
  • 24/7/365 Support: Available via phone, live chat, and email.

Pricing:

  • Hatchling Plan: Starts at $2.75/month.

HostGator is an excellent choice for budget-conscious users seeking reliable hosting.

5. InMotion Hosting

Best For: Business and E-commerce

InMotion Hosting is tailored for business and e-commerce sites, offering robust features and reliability.

Key Features:

  • Free Domain and SSL: Enhances credibility and security.
  • High Performance: SSD storage and optimized servers.
  • 90-Day Money-Back Guarantee: Extended trial period.
  • Business Class Hardware: Ensures superior uptime and performance.

Pricing:

  • Launch Plan: Starts at $2.49/month.

InMotion Hosting is ideal for businesses needing reliable and high-performance hosting.

6. WP Engine

Best For: Managed WordPress Hosting

WP Engine is a premium managed WordPress hosting service, providing top-tier performance and support.

Key Features

  • Managed Hosting: Takes care of technical aspects.
  • Daily Backups: Automated for peace of mind.
  • Top-notch Security: Includes firewall, daily malware scans, and more.
  • Excellent Speed: Through advanced caching and CDN.

Pricing

  • Startup Plan: Starts at $20/month.

WP Engine is perfect for WordPress users who prioritize quality hosting and comprehensive support.

7. DreamHost

Best For: Long-Term Value and Flexibility

DreamHost offers long-term value with flexible plans and a focus on customer satisfaction.

Key Features

  • Unlimited Traffic: No bandwidth caps.
  • Free Domain: For the first year.
  • 97-Day Money-Back Guarantee: Industry-leading trial period.
  • Strong Privacy Policies: Free domain privacy and SSL.

Pricing

  • Shared Starter Plan: Starts at $2.59/month.

DreamHost is ideal for users seeking a reliable, long-term hosting solution with great flexibility.

8. Hostinger

Hostinger stands out for its affordability and feature-rich hosting plans. With a user-friendly control panel, 24/7 support, and a range of hosting options including shared, VPS, and cloud hosting, Hostinger makes it easy for users to launch and manage their websites.

Pricing: Hostinger’s plans start as low as $1.39/month, making it one of the most budget-friendly options available.

9. GoDaddy

As one of the largest domain registrars and hosting providers globally, GoDaddy offers a wide range of hosting solutions to suit every need. With features like an intuitive website builder, reliable uptime, and 24/7 support, GoDaddy remains a popular choice for website owners worldwide.

Pricing: Pricing varies depending on the hosting plan chosen, with options starting as low as $5.99/month for basic hosting.

No matter your website’s requirements or budget, one of these hosting service providers is sure to be the perfect fit for you. Evaluate your needs, compare features, and consider customer reviews to make an informed decision and take your website to new heights in 2024!

Conclusion

Selecting the best hosting service provider depends on your specific needs, budget, and technical proficiency. Bluehost and HostGator offer excellent entry-level options for beginners and budget-conscious users. SiteGround and A2 Hosting provide superior speed and support, ideal for more advanced users. InMotion Hosting caters to businesses and e-commerce sites, while WP Engine is the go-to for managed WordPress hosting. DreamHost offers long-term value with flexible, user-friendly plans.

Evaluate your priorities—whether it’s speed, support, cost, or specific features—when making your choice. The right hosting provider can significantly impact your website’s performance and success, so choose wisely!

Top 9 Best Hosting Service Providers of 2024: Find the Perfect Fit for Your Website Read More »

Why Shopify is the Best E-commerce Platform for Your Business in 2024

Why Shopify is the Best E-commerce Platform for Your Business in 2024

In the dynamic world of e-commerce, choosing the right platform for your online store can make all the difference. As we move into 2024, Shopify continues to stand out as the go-to solution for businesses of all sizes. At The Ar Infotech, we’ve helped numerous clients achieve their e-commerce goals with Shopify. In this blog post, we’ll explore why Shopify remains the best e-commerce platform for your business and how it can help you succeed online.

1. User-Friendly Interface

One of the standout features of Shopify is its user-friendly interface. Whether you’re a seasoned developer or a beginner, Shopify’s intuitive design makes it easy to set up and manage your online store. The platform offers a drag-and-drop builder, which allows you to customize your site without needing to write a single line of code.

2. Powerful Features and Integrations

Shopify comes packed with a multitude of features that cater to various business needs. From inventory management and payment gateways to shipping options and customer service tools, Shopify has it all. Additionally, Shopify’s App Store offers thousands of integrations, enabling you to extend the functionality of your store with ease. Popular integrations include Mailchimp, QuickBooks, and various CRM systems.

3. Scalability

Whether you’re just starting out or scaling up, Shopify can grow with your business. The platform offers multiple pricing plans that cater to different stages of business growth. This scalability ensures that your online store can handle increased traffic and sales volume as your business expands.

4. Mobile Optimization

With more consumers shopping on their mobile devices, having a mobile-optimized store is essential. Shopify’s themes are responsive and designed to provide a seamless shopping experience across all devices. This mobile-first approach helps in improving user experience and boosting your conversion rates.

5. SEO and Marketing Tools

Shopify includes a range of SEO and marketing tools to help you drive traffic and increase sales. From customizable title tags and meta descriptions to integrated blogging and social media tools, Shopify makes it easy to optimize your store for search engines and reach your target audience. Additionally, Shopify supports Google Analytics and other tracking tools, providing valuable insights into your store’s performance.

6. Secure and Reliable

Security is a top priority for any online store. Shopify is a hosted solution that takes care of all server maintenance and security updates. It is PCI compliant and uses SSL encryption to ensure that your customers’ data is protected. This reliability and security allow you to focus on growing your business without worrying about technical issues.

7. Excellent Customer Support

Shopify offers 24/7 customer support via chat, email, and phone. Their extensive help center, community forums, and numerous online resources provide additional support. This ensures that you can get help whenever you need it, allowing you to resolve issues quickly and keep your store running smoothly.

Success Stories

At The ArInfo Tech, we’ve seen firsthand how Shopify can transform businesses. Here are a few examples:

  • Client A: Transitioned from a local retail store to an online powerhouse, increasing their monthly sales by 200% within six months of launching their Shopify store.
  • Client B: Leveraged Shopify’s integrations and marketing tools to streamline their operations and double their customer base in one year.
  • Client C: Used Shopify’s mobile optimization to improve their mobile shopping experience, resulting in a 50% increase in mobile conversions.

Conclusion

Choosing the right e-commerce platform is crucial for your business’s success. Shopify’s user-friendly interface, powerful features, scalability, mobile optimization, SEO tools, security, and excellent customer support make it the best choice for 2024. At [Your Digital Agency Name], we are committed to helping you harness the power of Shopify to achieve your e-commerce goals.

Why Shopify is the Best E-commerce Platform for Your Business in 2024 Read More »

How to Earn from Google AdSense:

How to Earn from Google AdSense: A Complete Guide to Monetizing Your Blog

In today’s digital age, earning money online has become increasingly accessible, and one of the most popular methods is through Google AdSense. If you have a blog or are thinking about starting one, integrating AdSense can be a great way to generate passive income. This guide will walk you through the process of setting up Google AdSense, getting approved, and optimizing your earnings.

What is Google AdSense?

Google AdSense is an advertising program run by Google that allows website owners and bloggers to display ads on their sites. These ads are targeted based on the content of your site and the interests of your visitors. When users click on these ads, you earn a share of the revenue generated.

Steps to Earn Money with Google AdSense

  1. Start a Blog
    • Choose a niche: Select a topic that you are passionate about and that has a good amount of search interest.
    • Create high-quality content: Focus on providing valuable, informative, and engaging content that attracts readers.
  2. Set Up Your Blog
    • Choose a blogging platform: WordPress is highly recommended due to its flexibility and large community support.
    • Get a domain name and hosting: Invest in a reliable hosting service and a memorable domain name.
  3. Apply for Google AdSense
    • Sign up for AdSense: Go to the Google AdSense website and create an account.
    • Add AdSense code to your blog: Follow the instructions to integrate AdSense code into your blog.
  4. Get Approved
    • Meet AdSense requirements: Ensure your blog complies with AdSense policies, including having sufficient content, a clear navigation structure, and an easy-to-find privacy policy.
    • Be patient: The approval process can take a few days to a few weeks.
  5. Optimize Ad Placement
    • Use heatmaps: Tools like Crazy Egg or Hotjar can help you understand where users are clicking most frequently.
    • Experiment with ad formats: Try different ad sizes and formats to see which perform best on your site.
  6. Drive Traffic to Your Blog
    • SEO: Optimize your blog posts with relevant keywords to improve your search engine rankings.
    • Social media: Share your content on social media platforms to attract more visitors.
    • Email marketing: Build an email list and send newsletters to keep readers coming back.
  7. Track and Improve Performance
    • Use Google Analytics: Monitor your blog’s traffic and user behavior to identify areas for improvement.
    • Optimize for higher CTR (Click-Through Rate): Experiment with ad placement, colors, and sizes to increase the chances of users clicking on ads.
  8. Follow AdSense Policies
    • Stay compliant: Regularly review AdSense policies to ensure your blog remains in good standing.
    • Avoid invalid clicks: Do not click on your own ads or encourage others to do so, as this can result in account suspension.

Tips to Maximize Your AdSense Revenue

  • Create Quality Content: Focus on writing comprehensive and engaging articles that answer your audience’s questions.
  • Optimize for Mobile: Ensure your blog is mobile-friendly, as a significant portion of web traffic comes from mobile devices.
  • Use High-Paying Keywords: Research and target keywords that have higher CPC (Cost Per Click) rates.
  • Increase Page Load Speed: A faster website improves user experience and can lead to higher ad impressions.

Conclusion

Earning from Google AdSense requires patience, dedication, and a strategic approach. By creating valuable content, optimizing your blog for traffic, and following best practices for ad placement, you can build a steady stream of income from your blog. Start today, and with persistence, you can turn your passion for blogging into a profitable venture.

How to Earn from Google AdSense: A Complete Guide to Monetizing Your Blog Read More »

Boost Your Website’s Speed with Seraphinite Accelerator

Boost Your Website’s Speed with Seraphinite Accelerator

The Ultimate Plugin for Web Performance

In the fast-paced digital world, website speed isn’t just a luxury; it’s a necessity. Users expect swift load times, and search engines reward speedy sites with higher rankings. A slow website can lead to high bounce rates, decreased user satisfaction, and lost revenue. Enter Seraphinite Accelerator, a powerful plugin designed to supercharge your website’s performance. In this blog post, we’ll explore how Seraphinite Accelerator can transform your website speed and provide an exceptional user experience.

What is Seraphinite Accelerator?

Seraphinite Accelerator is a comprehensive web performance plugin designed to optimize various aspects of your website, ensuring faster load times and smoother user experiences. It integrates seamlessly with popular content management systems (CMS) like WordPress, making it accessible and easy to implement for a wide range of users.

Key Features of Seraphinite Accelerator

  1. Caching Mechanisms: Seraphinite Accelerator leverages advanced caching techniques to store static versions of your web pages. This reduces the server load and significantly speeds up the delivery of content to visitors.
  2. Image Optimization: The plugin automatically compresses and optimizes images without compromising quality. This reduces the overall page size and improves load times.
  3. Minification of CSS and JavaScript: By minifying CSS and JavaScript files, Seraphinite Accelerator reduces file sizes and removes unnecessary code, resulting in faster page rendering.
  4. Lazy Loading: Images and other media are loaded only when they come into the user’s viewport, conserving bandwidth and speeding up the initial page load.
  5. Content Delivery Network (CDN) Integration: Seraphinite Accelerator seamlessly integrates with major CDNs, distributing your content globally and ensuring faster access for users regardless of their geographic location.
  6. Database Optimization: The plugin optimizes your database by cleaning up unnecessary data, reducing overhead, and improving query performance.
  7. Browser Caching: By enabling browser caching, the plugin ensures that repeat visitors experience faster load times as their browsers store previously accessed resources.
  8. GZIP Compression: Seraphinite Accelerator compresses files before sending them to the browser, reducing bandwidth usage and speeding up load times.

Benefits of Using Seraphinite Accelerator

  • Improved User Experience: Faster load times lead to a smoother browsing experience, encouraging users to stay longer and engage more with your content.
  • Higher Search Engine Rankings: Search engines like Google prioritize fast websites in their ranking algorithms. A faster site can lead to better search engine visibility and more organic traffic.
  • Increased Conversion Rates: Studies have shown that faster websites have higher conversion rates. By improving your site speed, you can enhance your chances of turning visitors into customers.
  • Reduced Bounce Rates: Slow websites often frustrate users, leading to high bounce rates. Seraphinite Accelerator helps keep visitors on your site by delivering content quickly.
  • Enhanced Mobile Performance: With mobile browsing on the rise, optimizing for speed is crucial. Seraphinite Accelerator ensures that your website performs well across all devices.

How to Get Started with Seraphinite Accelerator

  1. Install the Plugin: If you’re using a CMS like WordPress, you can easily find and install Seraphinite Accelerator from the plugin repository.
  2. Configure Settings: After installation, navigate to the plugin settings and configure the various optimization options according to your needs.
  3. Monitor Performance: Use tools like Google PageSpeed Insights or GTmetrix to monitor your website’s performance before and after implementing the plugin.
  4. Regular Updates: Keep the plugin updated to benefit from the latest features and improvements.

Conclusion

Seraphinite Accelerator is a must-have plugin for anyone looking to enhance their website’s speed and performance. With its robust set of features and user-friendly interface, it’s never been easier to optimize your site and deliver a top-notch user experience. Whether you’re a blogger, an e-commerce store owner, or a web developer, Seraphinite Accelerator can help you achieve your web performance goals.

Need Help or Want to Increase Your Website Speed?

If you need any assistance with installing or configuring Seraphinite Accelerator, or if you’re looking for expert advice on boosting your website’s speed, feel free to reach out! Our team is here to help you achieve the best performance for your site.

Contact Us

Boost Your Website’s Speed with Seraphinite Accelerator Read More »

How to fix Elementor loading problem (1)

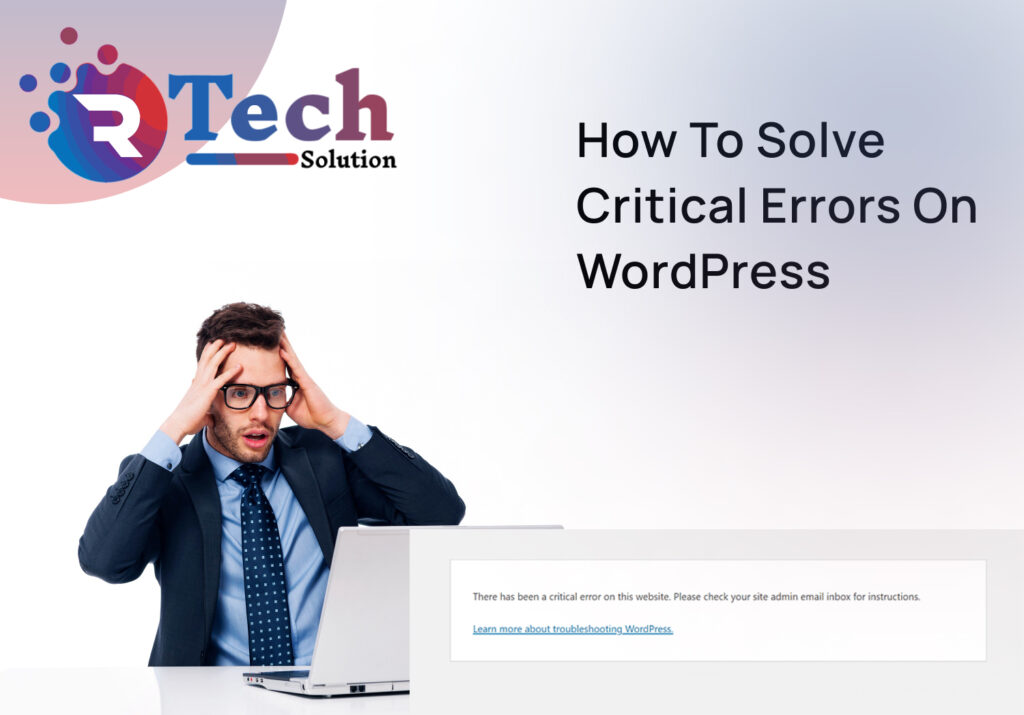
How to Solve Critical Errors on WordPress

WordPress is a powerful and popular content management system, but like any software, it can encounter critical errors that can disrupt your website. In this guide, we’ll walk you through the steps to identify, troubleshoot, and resolve critical errors in WordPress, ensuring your site runs smoothly.

1. Understanding the Critical Error

Before diving into the solutions, it’s important to understand what a critical error in WordPress typically means. These errors can occur due to various reasons such as incompatible plugins, themes, corrupted files, or server issues. The first step in resolving any error is identifying its cause.

2. Enable Debugging Mode

Enabling debugging mode in WordPress helps you identify the root cause of the error. You can do this by editing the wp-config.php file in your WordPress directory. Add the following lines if they are not already present:

phpCopy codedefine('WP_DEBUG', true);
define('WP_DEBUG_LOG', true);
define('WP_DEBUG_DISPLAY', false);
@ini_set('display_errors', 0);

This will create a debug.log file in the wp-content directory where you can review error logs.

3. Deactivate All Plugins

Often, a conflicting plugin can cause a critical error. To determine if this is the case, deactivate all your plugins:

  • Access your site via FTP or File Manager in your hosting control panel.
  • Navigate to wp-content/plugins and rename the plugins folder to something like plugins_old.

Check your site to see if the error is resolved. If it is, rename the folder back to plugins and reactivate each plugin one by one to identify the culprit.

4. Switch to a Default Theme

A faulty theme can also trigger a critical error. To rule this out, switch to a default WordPress theme (like Twenty Twenty-One):

  • Access your site via FTP or File Manager.
  • Navigate to wp-content/themes.
  • Rename your active theme’s folder.
  • WordPress will automatically revert to a default theme.

Check if the error persists. If switching the theme resolves the issue, then the problem lies within your original theme.

5. Increase PHP Memory Limit

Sometimes, a critical error can occur due to insufficient PHP memory. To increase the memory limit:

  • Edit the wp-config.php file.
  • Add the following line before the “That’s all, stop editing!” comment:
phpCopy codedefine('WP_MEMORY_LIMIT', '256M');

This increases the PHP memory limit to 256MB, which is usually sufficient for most WordPress sites.

6. Reinstall WordPress Core Files

Corrupted WordPress core files can also cause critical errors. Reinstalling these files can help:

  • Download the latest version of WordPress from wordpress.org.
  • Extract the downloaded files.
  • Upload everything except the wp-content folder and wp-config.php file to your WordPress directory, overwriting the existing files.

This ensures that your content and settings remain intact while refreshing the core files.

7. Check File Permissions

Incorrect file permissions can lead to critical errors. Ensure your file permissions are set correctly:

  • Folders should be set to 755.
  • Files should be set to 644.

You can adjust these permissions using an FTP client or your hosting control panel.

8. Contact Your Hosting Provider

If none of the above steps resolve the issue, it might be a server-related problem. Contact your hosting provider for assistance. They can help you check server logs and configurations that might be causing the error.

Conclusion

Dealing with critical errors in WordPress can be daunting, but with a systematic approach, you can identify and resolve the issues efficiently. By enabling debugging, deactivating plugins, switching themes, increasing memory limits, reinstalling core files, and checking permissions, you can troubleshoot most problems. If all else fails, don’t hesitate to seek help from your hosting provider or a WordPress professional.

By following these steps, you can maintain a healthy and functioning WordPress site, minimizing downtime and ensuring a seamless experience for your visitors.

How to Solve Critical Errors on WordPress Read More »

500 Internal Server Error in Elementor

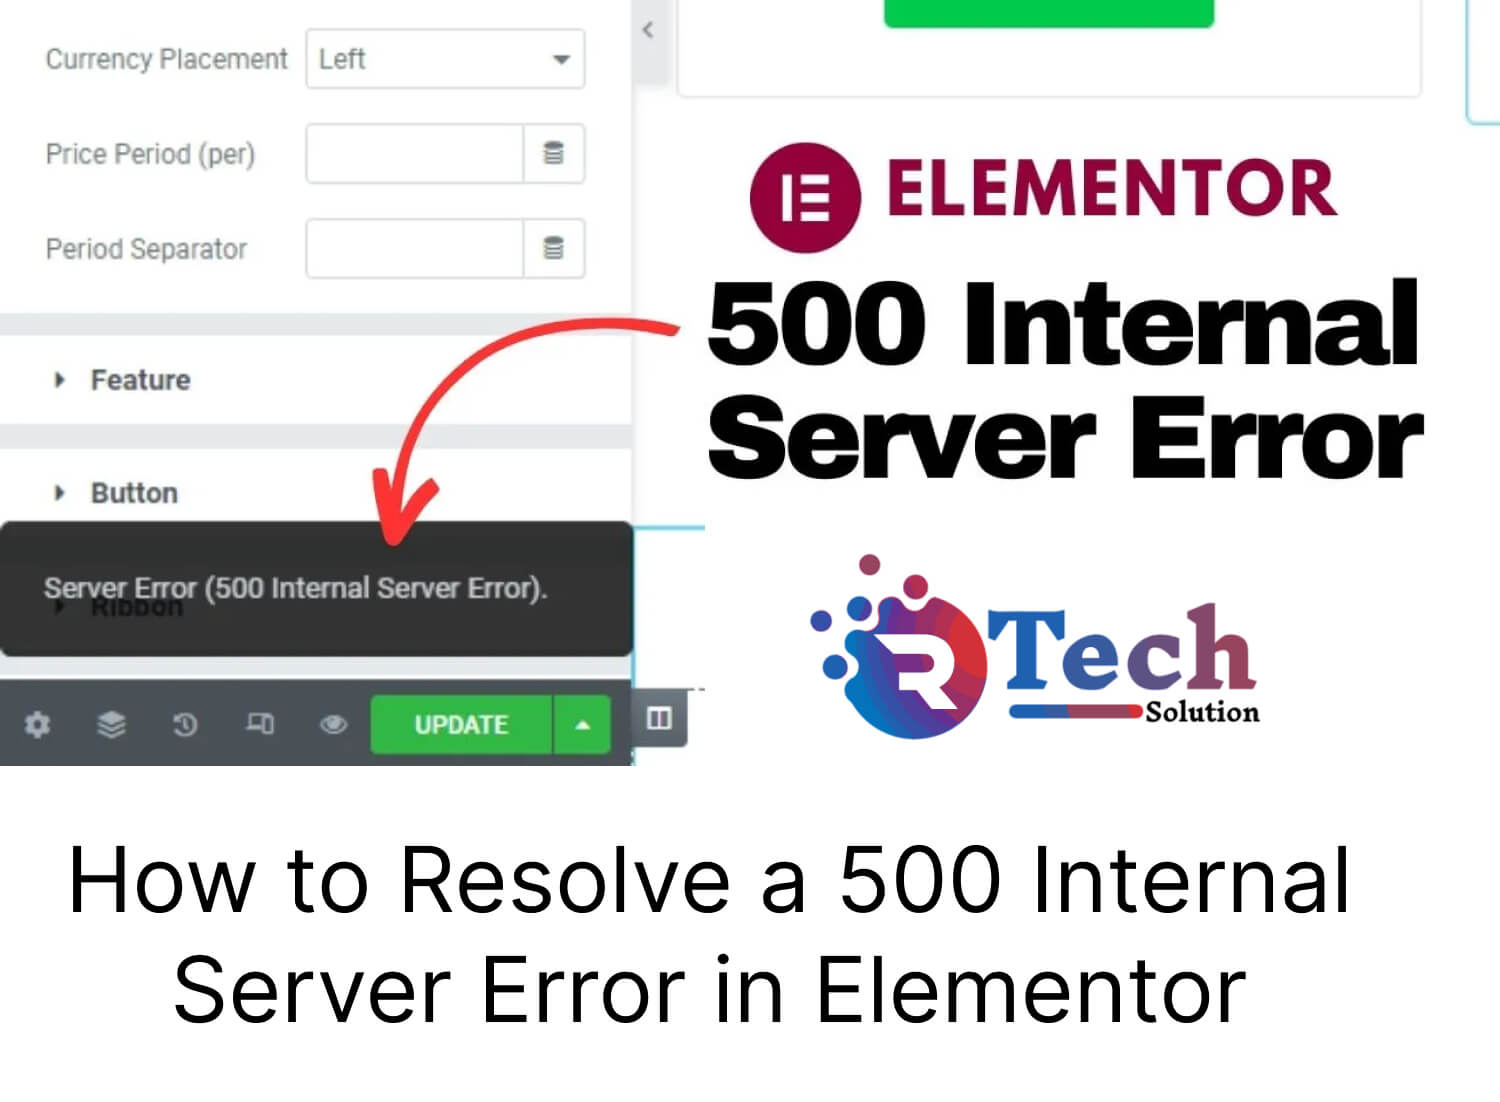
How to Resolve a 500 Internal Server Error in Elementor

Follow below steps to solve 500 error in elementor

Elementor is a powerful and popular WordPress page builder plugin that enables users to create custom web pages with ease. However, encountering a 500 Internal Server Error while using Elementor can be particularly frustrating as it disrupts the editing and publishing process. This error is a generic response indicating that something has gone wrong on the server, but the server is unable to be more specific. Here’s a comprehensive guide on how to troubleshoot and resolve a 500 Internal Server Error when using Elementor.

Step 1: Enable WordPress Debugging

To begin diagnosing the issue, enable WordPress debugging to capture detailed error messages.

  1. Edit wp-config.php:
    • Access your WordPress root directory and open the wp-config.php file.
    • Add or modify the following lines:phpCopy codedefine('WP_DEBUG', true); define('WP_DEBUG_LOG', true); define('WP_DEBUG_DISPLAY', false);
    • This configuration will log errors to a debug.log file located in the wp-content directory, without displaying them to visitors.
  2. Review debug.log:
    • Navigate to wp-content/debug.log and look for any specific error messages related to Elementor. These messages can provide insight into what might be causing the 500 error.

Step 2: Check Server Logs

In addition to WordPress debugging, check your web server logs for more detailed information.

  • Apache Logs:
    • Typically found in /var/log/apache2/error.log or /var/log/httpd/error_log.
  • Nginx Logs:
    • Typically found in /var/log/nginx/error.log.

Reviewing these logs can help you identify server-side issues that might be contributing to the error.

Step 3: Check File Permissions

Incorrect file permissions can often cause 500 errors. Ensure that the server has the correct permissions to access necessary files and directories.

  • Common Permissions:
    • Directories should typically have 755 permissions.
    • Files should typically have 644 permissions.
  • Ownership:
    • Verify that files are owned by the correct user and group, usually the web server user (e.g., www-data for Apache).

Use commands like chmod and chown on Unix-based systems to adjust permissions and ownership as needed.

Step 4: Increase PHP Memory Limit

Elementor can be resource-intensive, and a low PHP memory limit might cause a 500 error. Increase the memory limit to ensure that your server can handle the demands of Elementor.

  1. Edit wp-config.php:
    • Add or modify the following line:phpCopy codedefine('WP_MEMORY_LIMIT', '256M');
  2. Edit php.ini:
    • If you have access to the php.ini file, increase the memory limit:iniCopy codememory_limit = 256M
  3. Edit .htaccess:
    • Add the following line to your .htaccess file:apacheCopy codephp_value memory_limit 256M

Step 5: Check for Plugin Conflicts

Conflicts between Elementor and other plugins can also cause a 500 error.

  1. Deactivate Plugins:
    • Deactivate all plugins except Elementor and Elementor Pro.
    • If the error is resolved, reactivate the plugins one by one to identify the conflicting plugin.
  2. Theme Conflicts:
    • Temporarily switch to a default WordPress theme (like Twenty Twenty-One) to see if the error persists. If switching themes resolves the error, the issue may be with your theme.

Step 6: Update Everything

Ensure that WordPress, Elementor, Elementor Pro, and all other plugins are up to date. Compatibility issues can often cause errors, and updates frequently include fixes for known issues.

  • WordPress:
    • Navigate to Dashboard > Updates and install any available updates.
  • Elementor and Plugins:
    • Navigate to Plugins > Installed Plugins and update Elementor, Elementor Pro, and all other plugins.

Step 7: Regenerate .htaccess File

A corrupted .htaccess file can cause a 500 error. Regenerate the .htaccess file to ensure it’s configured correctly.

  1. Rename .htaccess:
    • Access your WordPress root directory and rename the .htaccess file to .htaccess_old.
  2. Regenerate .htaccess:
    • In the WordPress dashboard, navigate to Settings > Permalinks and click Save Changes. This action will generate a new .htaccess file.

Step 8: Contact Your Hosting Provider

If you’ve tried all the above steps and the error persists, it might be an issue with your hosting environment. Contact your hosting provider for assistance. They can check server configurations, review error logs, and provide support specific to their hosting setup.

Conclusion

https://wordpress.org/A 500 Internal Server Error while using Elementor can be challenging to resolve due to its generic nature. By systematically checking server logs, enabling WordPress debugging, verifying file permissions, increasing PHP memory limits, checking for plugin and theme conflicts, ensuring everything is updated, and regenerating the .htaccess file, you can identify and resolve the underlying issue. If the problem persists, seeking help from your hosting provider can provide additional support. With careful troubleshooting, you can get back to creating with Elementor without interruption.

How to Resolve a 500 Internal Server Error in Elementor Read More »

how-to-solve-elementor-loading-issue

How to Solve Elementor Loading Issue

How to Solve Elementor Loading Issue

Elementor is a popular page builder for WordPress, known for its ease of use and flexibility. However, users may sometimes encounter loading issues that prevent the Elementor editor from functioning properly.

This guide will provide step-by-step instructions to help troubleshoot and resolve Elementor loading problems.

1. Check System Requirements

Ensure that your website meets Elementor’s system requirements:

  • PHP Version: 7.4 or higher
  • WordPress Version: 5.2 or higher
  • Memory Limit: 128 MB or more (256 MB recommended)
  • MySQL Version: 5.6 or higher / MariaDB Version: 10.0 or higher

2. Update Plugins and Themes

Outdated plugins and themes can cause conflicts with Elementor. Make sure to:

  • Update Elementor to the latest version.
  • Update all other plugins and your WordPress theme.

3. Increase PHP Memory Limit

A low PHP memory limit can cause Elementor to struggle with loading. To increase the PHP memory limit:

  • Access your site via FTP or cPanel.
  • Open the wp-config.php file.
  • Add the following line of code:phpCopy codedefine('WP_MEMORY_LIMIT', '256M');

4. Check for Plugin Conflicts

Sometimes, other plugins can conflict with Elementor. To identify the conflicting plugin:

  • Deactivate all plugins except Elementor and Elementor Pro.
  • Check if Elementor loads correctly.
  • Reactivate each plugin one by one, checking Elementor each time, to identify the conflicting plugin.

5. Switch to a Default Theme

Themes can also cause conflicts. Switch to a default WordPress theme (like Twenty Twenty-One) to see if the issue persists:

  • Go to Appearance > Themes.
  • Activate a default WordPress theme.

6. Check Browser Console for Errors

The browser console can provide clues about what’s going wrong:

  • Right-click on the page and select “Inspect” or press F12.
  • Go to the “Console” tab and look for any error messages.

7. Enable Safe Mode in Elementor

Elementor’s Safe Mode allows you to bypass potential conflicts:

  • Go to Elementor > Tools > Safe Mode.
  • Enable Safe Mode and check if the issue is resolved.

8. Check Server Configuration

Ensure your server configuration is optimal for Elementor:

  • Verify that mod_security is not blocking requests.
  • Ensure the PHP Zlib extension is enabled.

9. Contact Your Hosting Provider

If the issue persists, contact your hosting provider. They can help with:

  • Increasing server resources.
  • Checking for server-level conflicts.

10. Reinstall Elementor

As a last resort, reinstalling Elementor can sometimes resolve issues:

  • Deactivate and delete the Elementor plugin.
  • Reinstall the latest version from the WordPress repository.

By following these steps, you should be able to identify and resolve the loading issues with Elementor. If problems persist, consider reaching out to Elementor support for further assistance.

How to Solve Elementor Loading Issue Read More »

Scroll to Top