AR Info Tech

Author name: Rahul

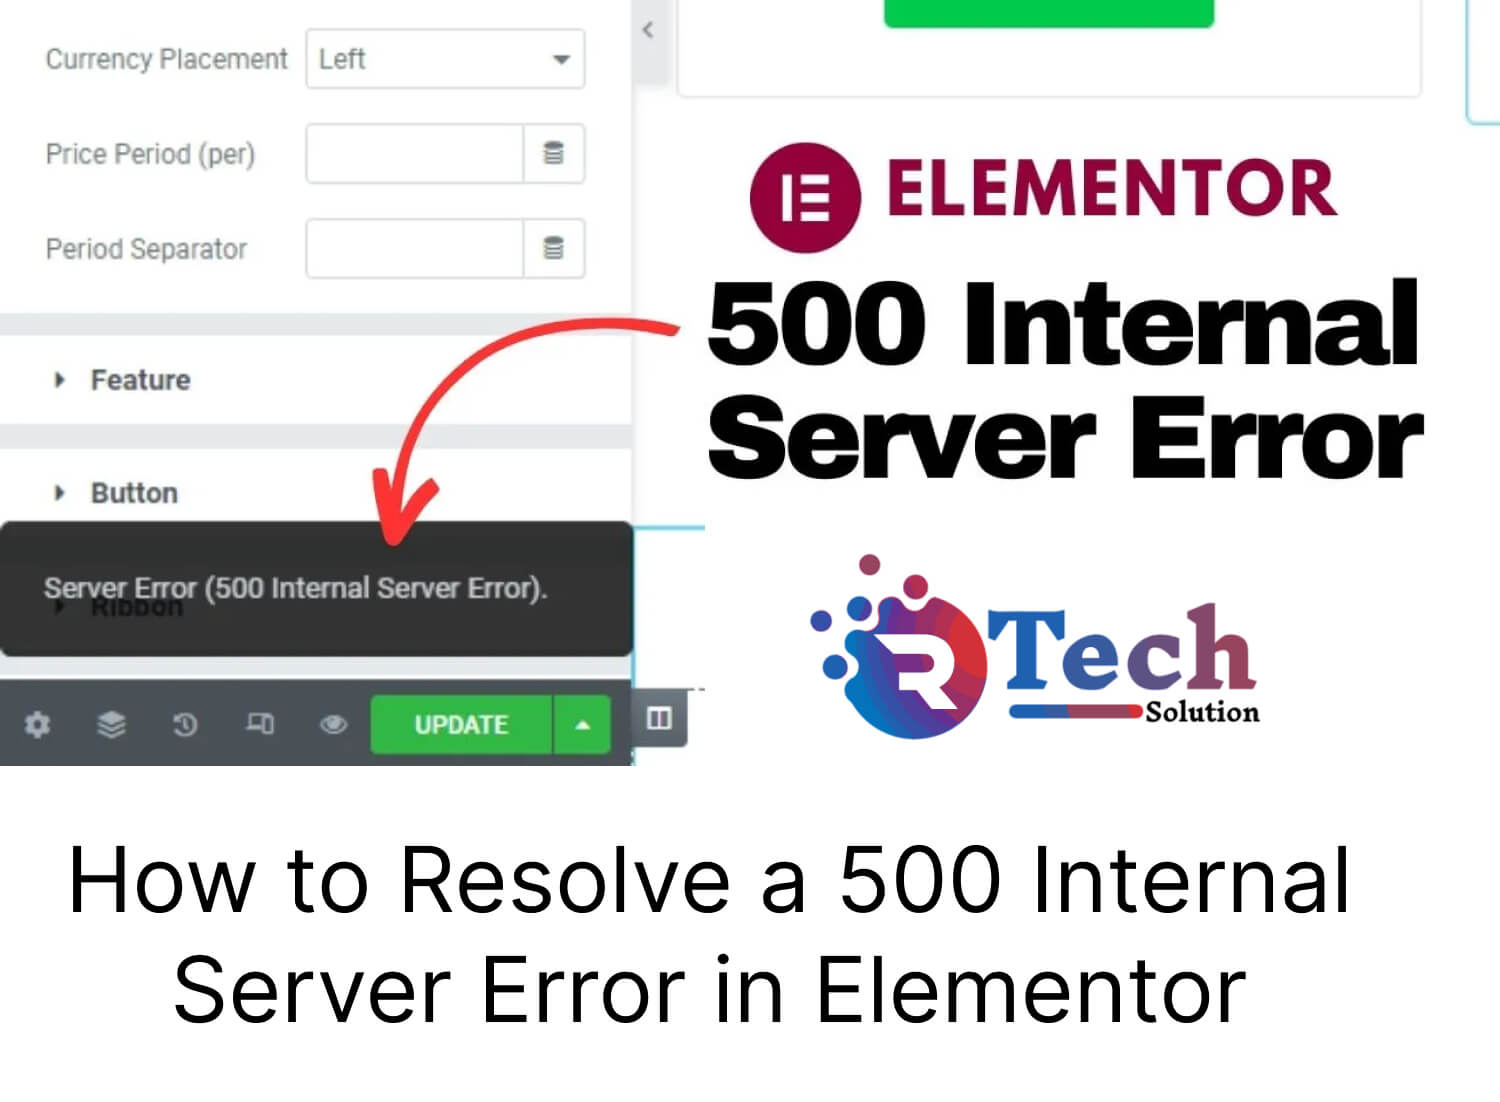
500 Internal Server Error in Elementor

How to Resolve a 500 Internal Server Error in Elementor

Follow below steps to solve 500 error in elementor

Elementor is a powerful and popular WordPress page builder plugin that enables users to create custom web pages with ease. However, encountering a 500 Internal Server Error while using Elementor can be particularly frustrating as it disrupts the editing and publishing process. This error is a generic response indicating that something has gone wrong on the server, but the server is unable to be more specific. Here’s a comprehensive guide on how to troubleshoot and resolve a 500 Internal Server Error when using Elementor.

Step 1: Enable WordPress Debugging

To begin diagnosing the issue, enable WordPress debugging to capture detailed error messages.

  1. Edit wp-config.php:
    • Access your WordPress root directory and open the wp-config.php file.
    • Add or modify the following lines:phpCopy codedefine('WP_DEBUG', true); define('WP_DEBUG_LOG', true); define('WP_DEBUG_DISPLAY', false);
    • This configuration will log errors to a debug.log file located in the wp-content directory, without displaying them to visitors.
  2. Review debug.log:
    • Navigate to wp-content/debug.log and look for any specific error messages related to Elementor. These messages can provide insight into what might be causing the 500 error.

Step 2: Check Server Logs

In addition to WordPress debugging, check your web server logs for more detailed information.

  • Apache Logs:
    • Typically found in /var/log/apache2/error.log or /var/log/httpd/error_log.
  • Nginx Logs:
    • Typically found in /var/log/nginx/error.log.

Reviewing these logs can help you identify server-side issues that might be contributing to the error.

Step 3: Check File Permissions

Incorrect file permissions can often cause 500 errors. Ensure that the server has the correct permissions to access necessary files and directories.

  • Common Permissions:
    • Directories should typically have 755 permissions.
    • Files should typically have 644 permissions.
  • Ownership:
    • Verify that files are owned by the correct user and group, usually the web server user (e.g., www-data for Apache).

Use commands like chmod and chown on Unix-based systems to adjust permissions and ownership as needed.

Step 4: Increase PHP Memory Limit

Elementor can be resource-intensive, and a low PHP memory limit might cause a 500 error. Increase the memory limit to ensure that your server can handle the demands of Elementor.

  1. Edit wp-config.php:
    • Add or modify the following line:phpCopy codedefine('WP_MEMORY_LIMIT', '256M');
  2. Edit php.ini:
    • If you have access to the php.ini file, increase the memory limit:iniCopy codememory_limit = 256M
  3. Edit .htaccess:
    • Add the following line to your .htaccess file:apacheCopy codephp_value memory_limit 256M

Step 5: Check for Plugin Conflicts

Conflicts between Elementor and other plugins can also cause a 500 error.

  1. Deactivate Plugins:
    • Deactivate all plugins except Elementor and Elementor Pro.
    • If the error is resolved, reactivate the plugins one by one to identify the conflicting plugin.
  2. Theme Conflicts:
    • Temporarily switch to a default WordPress theme (like Twenty Twenty-One) to see if the error persists. If switching themes resolves the error, the issue may be with your theme.

Step 6: Update Everything

Ensure that WordPress, Elementor, Elementor Pro, and all other plugins are up to date. Compatibility issues can often cause errors, and updates frequently include fixes for known issues.

  • WordPress:
    • Navigate to Dashboard > Updates and install any available updates.
  • Elementor and Plugins:
    • Navigate to Plugins > Installed Plugins and update Elementor, Elementor Pro, and all other plugins.

Step 7: Regenerate .htaccess File

A corrupted .htaccess file can cause a 500 error. Regenerate the .htaccess file to ensure it’s configured correctly.

  1. Rename .htaccess:
    • Access your WordPress root directory and rename the .htaccess file to .htaccess_old.
  2. Regenerate .htaccess:
    • In the WordPress dashboard, navigate to Settings > Permalinks and click Save Changes. This action will generate a new .htaccess file.

Step 8: Contact Your Hosting Provider

If you’ve tried all the above steps and the error persists, it might be an issue with your hosting environment. Contact your hosting provider for assistance. They can check server configurations, review error logs, and provide support specific to their hosting setup.

Conclusion

https://wordpress.org/A 500 Internal Server Error while using Elementor can be challenging to resolve due to its generic nature. By systematically checking server logs, enabling WordPress debugging, verifying file permissions, increasing PHP memory limits, checking for plugin and theme conflicts, ensuring everything is updated, and regenerating the .htaccess file, you can identify and resolve the underlying issue. If the problem persists, seeking help from your hosting provider can provide additional support. With careful troubleshooting, you can get back to creating with Elementor without interruption.

How to Resolve a 500 Internal Server Error in Elementor Read More »

how-to-solve-elementor-loading-issue

How to Solve Elementor Loading Issue

How to Solve Elementor Loading Issue

Elementor is a popular page builder for WordPress, known for its ease of use and flexibility. However, users may sometimes encounter loading issues that prevent the Elementor editor from functioning properly.

This guide will provide step-by-step instructions to help troubleshoot and resolve Elementor loading problems.

1. Check System Requirements

Ensure that your website meets Elementor’s system requirements:

  • PHP Version: 7.4 or higher
  • WordPress Version: 5.2 or higher
  • Memory Limit: 128 MB or more (256 MB recommended)
  • MySQL Version: 5.6 or higher / MariaDB Version: 10.0 or higher

2. Update Plugins and Themes

Outdated plugins and themes can cause conflicts with Elementor. Make sure to:

  • Update Elementor to the latest version.
  • Update all other plugins and your WordPress theme.

3. Increase PHP Memory Limit

A low PHP memory limit can cause Elementor to struggle with loading. To increase the PHP memory limit:

  • Access your site via FTP or cPanel.
  • Open the wp-config.php file.
  • Add the following line of code:phpCopy codedefine('WP_MEMORY_LIMIT', '256M');

4. Check for Plugin Conflicts

Sometimes, other plugins can conflict with Elementor. To identify the conflicting plugin:

  • Deactivate all plugins except Elementor and Elementor Pro.
  • Check if Elementor loads correctly.
  • Reactivate each plugin one by one, checking Elementor each time, to identify the conflicting plugin.

5. Switch to a Default Theme

Themes can also cause conflicts. Switch to a default WordPress theme (like Twenty Twenty-One) to see if the issue persists:

  • Go to Appearance > Themes.
  • Activate a default WordPress theme.

6. Check Browser Console for Errors

The browser console can provide clues about what’s going wrong:

  • Right-click on the page and select “Inspect” or press F12.
  • Go to the “Console” tab and look for any error messages.

7. Enable Safe Mode in Elementor

Elementor’s Safe Mode allows you to bypass potential conflicts:

  • Go to Elementor > Tools > Safe Mode.
  • Enable Safe Mode and check if the issue is resolved.

8. Check Server Configuration

Ensure your server configuration is optimal for Elementor:

  • Verify that mod_security is not blocking requests.
  • Ensure the PHP Zlib extension is enabled.

9. Contact Your Hosting Provider

If the issue persists, contact your hosting provider. They can help with:

  • Increasing server resources.
  • Checking for server-level conflicts.

10. Reinstall Elementor

As a last resort, reinstalling Elementor can sometimes resolve issues:

  • Deactivate and delete the Elementor plugin.
  • Reinstall the latest version from the WordPress repository.

By following these steps, you should be able to identify and resolve the loading issues with Elementor. If problems persist, consider reaching out to Elementor support for further assistance.

How to Solve Elementor Loading Issue Read More »

How To get Client of Web Development Project

How To get Client of Web Development Project

In today’s digital age, web development has become a crucial aspect for businesses of all sizes. With the increasing demand for online presence, web developers have an excellent opportunity to acquire new clients. However, getting clients in the competitive web development industry can be challenging. In this blog post, we will discuss some effective strategies to help you attract and retain clients for your web development services.

  1. Define your target audience: The first step in acquiring clients is to identify your target audience. Determine the industries or businesses that can benefit the most from your web development expertise. By focusing on a specific niche, you can tailor your marketing efforts and provide specialized solutions that cater to their unique needs.
  2. Build a strong online presence: A well-designed website is a powerful tool to showcase your skills and attract potential clients. Create a professional website that highlights your portfolio, services, and testimonials from satisfied clients. Optimize your website for search engines to increase its visibility and drive organic traffic.
  3. Leverage social media: Social media platforms offer a vast pool of potential clients. Create profiles on platforms like LinkedIn, Twitter, and Facebook to showcase your expertise and engage with your target audience. Share valuable content, participate in relevant discussions, and build relationships with potential clients and influencers in your industry.
  4. Network and attend industry events: Attend web development conferences, seminars, and local meetups to connect with professionals and potential clients. Networking is a powerful tool for generating leads and building relationships. Be proactive in introducing yourself, exchanging business cards, and following up with potential clients after the event.
  5. Offer free consultations or audits: Provide potential clients with a free consultation or website audit to demonstrate your expertise and value. This allows you to identify their pain points and propose tailored solutions. By offering a taste of your services, you can build trust and increase the likelihood of converting them into paying clients.
  6. Develop a strong portfolio: A portfolio is a visual representation of your skills and expertise. Showcase your best web development projects to demonstrate your capabilities to potential clients. Include case studies that highlight the challenges you faced and how you overcame them. A strong portfolio can be a powerful tool for attracting clients who are impressed by your previous work.
  7. Offer competitive pricing and packages: Research the market rates for web development services and ensure that your pricing is competitive. Consider offering different packages that cater to different budget levels. Providing transparent pricing and a clear breakdown of services can help potential clients understand the value they will receive.
  8. Provide exceptional customer service: Excellent customer service is essential for client retention and referrals. Respond promptly to client inquiries, communicate clearly, and provide regular updates on project progress. Going above and beyond to exceed client expectations can lead to positive reviews and recommendations, which can help attract new clients.
  9. Utilize online directories and freelance platforms: Register your web development services on online directories and freelance platforms like Upwork, Freelancer, and Fiverr. These platforms connect businesses with freelancers, providing an opportunity to showcase your skills and acquire new clients. Be sure to optimize your profile, highlight your expertise, and provide a compelling description of your services.
  10. Ask for referrals: Satisfied clients can be your best advocates. Don’t hesitate to ask for referrals from your existing clients. Offer incentives or discounts for referrals to encourage them to recommend your services to their network. Word-of-mouth recommendations can be a powerful tool for attracting new clients.

In conclusion, acquiring clients in the web development industry requires a combination of strategic marketing, networking, and providing exceptional services. By defining your target audience, building a strong online presence, and leveraging various marketing channels, you can attract and retain clients for your web development services. Remember to continuously refine your skills, stay updated with industry trends, and provide excellent customer service to ensure long-term success.

How To get Client of Web Development Project Read More »

Best Plugins for Speeding Up and Optimizing

The Best Plugins for Speeding Up and Optimizing Your WordPress Website

Your WordPress website’s performance plays a crucial role in user experience and SEO rankings. A fast-loading website not only keeps visitors engaged but also ranks higher in search engine results. To achieve optimal website speed and performance, you can leverage various plugins designed specifically for this purpose. In this blog post, we’ll explore some of the best plugins for speeding up and optimizing your WordPress website.

1. WP Rocket

WP Rocket is one of the most popular and feature-rich caching plugins for WordPress. It simplifies the caching process, making it easy for beginners and effective for advanced users. Key features include page caching, browser caching, lazy loading of images, database optimization, and more. WP Rocket is known for delivering remarkable speed improvements with minimal configuration.

2. W3 Total Cache

W3 Total Cache is a powerful and comprehensive caching plugin for WordPress. It offers a wide range of caching methods, including page caching, database caching, object caching, and browser caching. It’s highly customizable and can integrate with content delivery networks (CDNs) for even faster loading times.

3. Autoptimize

Autoptimize is a handy plugin that specializes in optimizing your website’s performance by minimizing and combining CSS, JavaScript, and HTML files. It also offers image optimization features. Autoptimize can significantly reduce the number of requests made to your server, resulting in faster page loading.

Images are often the largest contributors to slow-loading web pages. WP Smush is a top-notch image optimization plugin that automatically compresses and optimizes images when you upload them to your WordPress site. Smaller image file sizes mean quicker page loading times.

5. LiteSpeed Cache

If your web hosting server is powered by LiteSpeed, then the LiteSpeed Cache plugin is an excellent choice. It’s designed to work specifically with LiteSpeed servers and offers a range of optimization features, including page caching, image optimization, and CSS and JavaScript minification.

6. WP Super Minify

WP Super Minify is a straightforward plugin that combines, minifies, and caches your JavaScript and CSS files. While it may not have as many features as some other plugins, it’s a lightweight option that can help improve page load times.

7. ShortPixel

In addition to WP Smush, another great image optimization plugin is ShortPixel. It automatically compresses images and offers a variety of settings to fine-tune the optimization process. It can also convert images to WebP format, which can lead to substantial speed improvements.

8. Perfmatters

Perfmatters is a performance optimization plugin that allows you to disable unnecessary features and scripts on a per-page basis. This granular control can help you eliminate bottlenecks and improve load times.

9. Asset CleanUp: Page Speed Booster

This plugin helps you unload or disable unnecessary scripts and styles on individual pages, which can dramatically reduce the number of requests and improve page load times. Asset CleanUp is particularly useful for removing scripts and styles added by other plugins that you don’t need on every page.

10. Flying Pages

Flying Pages is a clever plugin that prefetches pages when a user hovers over a link. This preloading technique can make navigating your site feel even faster, as the next page is already loaded in the background.

Conclusion

Optimizing your WordPress website for speed is essential for improving user experience and search engine rankings. While these plugins can help, keep in mind that website optimization is a holistic process that also involves choosing a fast hosting provider, using a lightweight theme, and regularly maintaining your site.

Before installing any of these plugins, it’s essential to measure your website’s performance using tools like Google PageSpeed Insights, GTmetrix, or Pingdom. This will help you identify specific areas that need improvement and guide you in selecting the right combination of plugins and techniques to optimize your WordPress website for speed and performance.

The Best Plugins for Speeding Up and Optimizing Your WordPress Website Read More »

Scroll to Top