

Step-by-Step Guide to Purchasing Hostinger Hosting and Installing WordPress for Beginners
Hi everyone,In our previous blog, we learned about the best hosting platform, Hostinger. Now, we will learn how to purchase hosting with Hostinger.
How to Get Hostinger Web Server
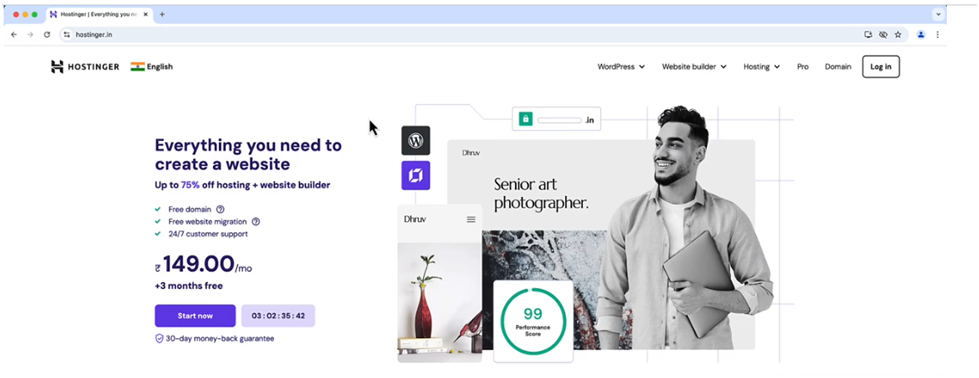
- You need to type hostinger.in in Google if you are an Indian or hostinger.com if you are from another country.
As you see in the above image, the WordPress option is shown. You can click on that WordPress option. The reason is we are going to learn WordPress website development. In this hosting plan, you will see four plans, as shown in the image below.
Are You a Beginner or in the Learning Phase?
If yes, we recommend you the Premium Plan. The Single Plan is not very beneficial, and the Business Plan and Cloud Startup Plan are expensive. No doubt, in the learning phase, you can purchase the Hostinger Premium Plan.
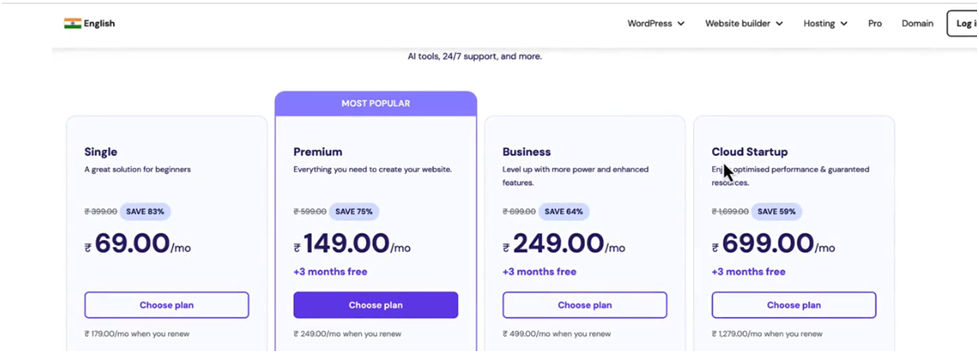
Now you can see this hosting shows four years of hosting, and if you purchase it one time, you can pay ₹149 monthly. Hostinger provides very cheap and secure hosting. Sometimes, you get very exclusive discounts with Hostinger.
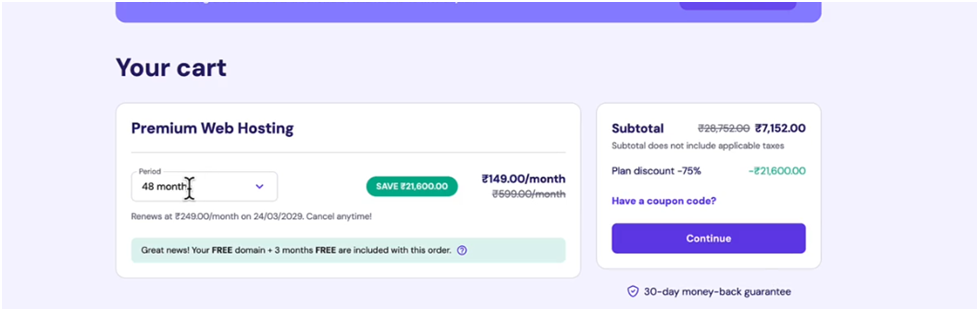
You Can Purchase Hostinger Hosting Easily
How to Redeem the Free Domain and Install WordPress
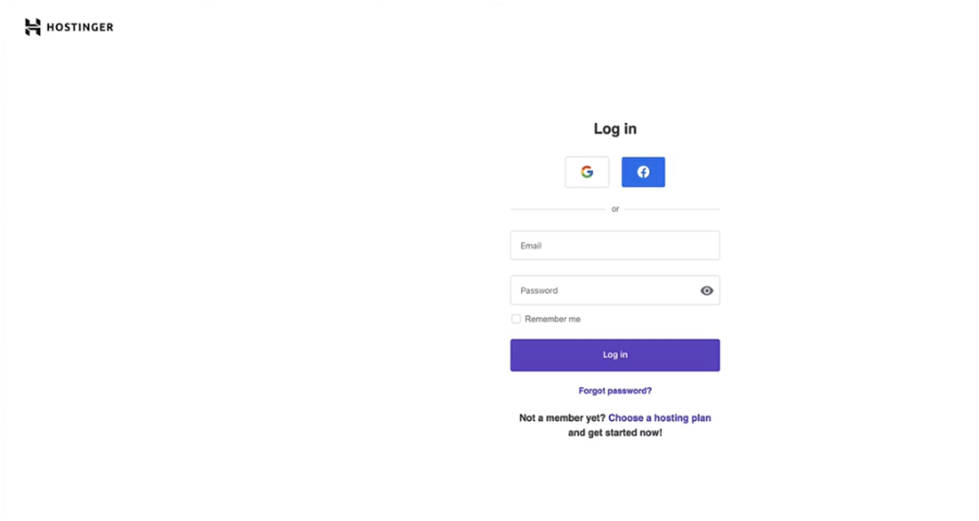
Type hostinger.in on Google and log in to Hostinger.
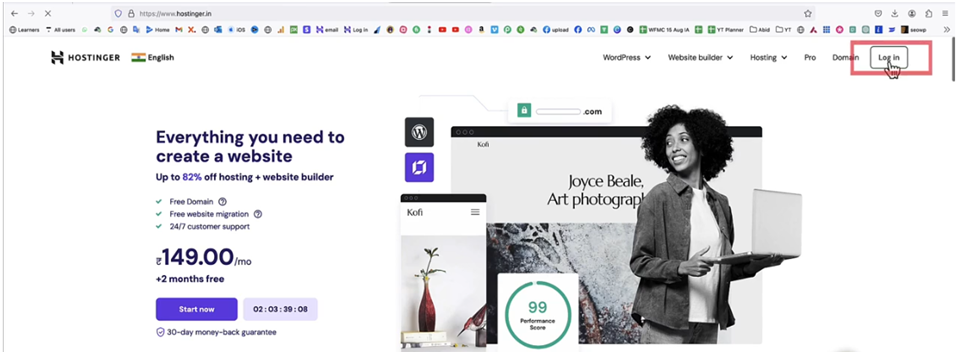
Next Step – Log in to Hostinger
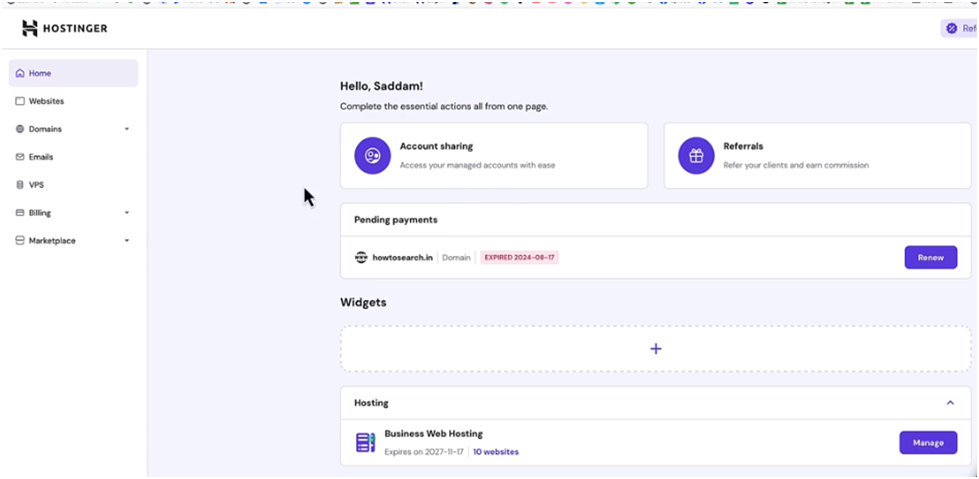
Step 3
Now you can see the dashboard of Hostinger, like in the below image. Sometimes you need to explore because Hostinger changes its dashboard from time to time.
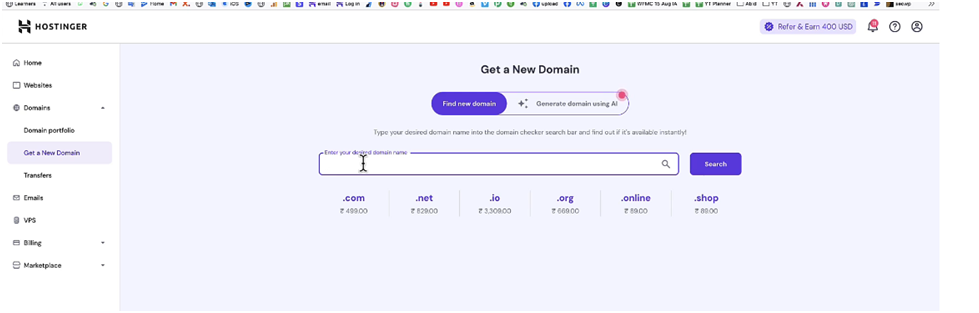
Step 4 – Click on Domains
Click on Domains, and after that, click on Get a New Domain.

You will get this type of interface:
You can fill in the domain name that is in your mind. Make sure the domain name never contains any spaces and includes .com, .in, .org, etc. If someone has already taken the domain name you have in mind, you need to get a similar domain. Don’t worry.
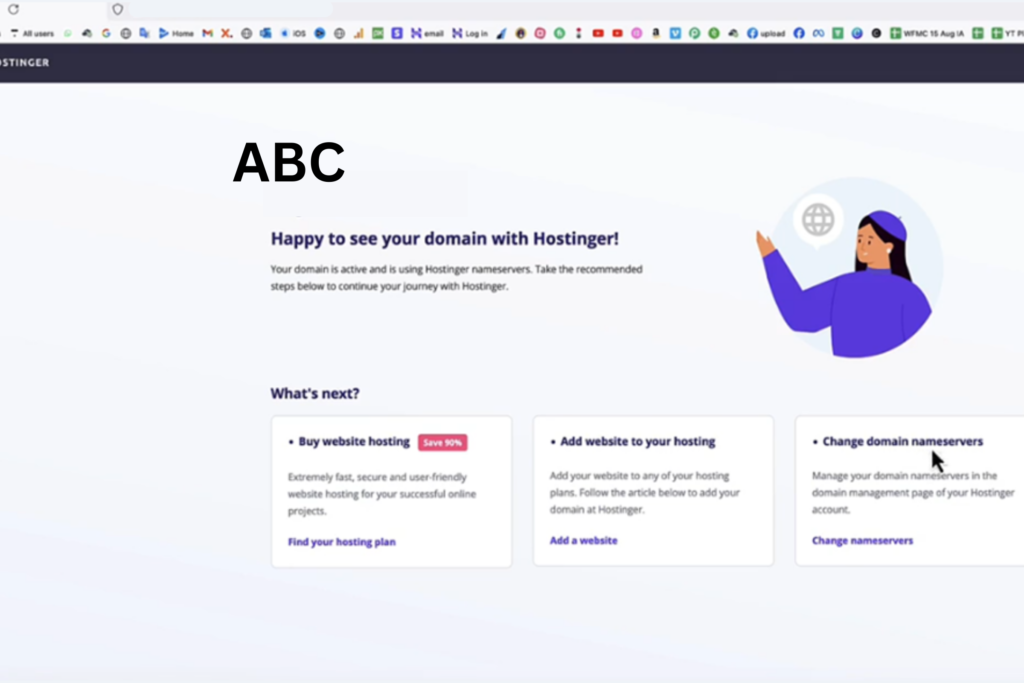
In the process of domain purchasing, you have to provide some information about yourself, your city, and other required details that Hostinger needs. Don’t worry; it’s not harmful to you. A website that you want to make is your property, and if Hostinger provides you hosting, they have the right to know your identity. After filling in your information in the form, you will find a confirmation mail.
We hope you have purchased Hostinger hosting!
Now We Will Explore How to Install WordPress
Search your domain on Google, which you purchased. At first, you will find it’s not secure.
But when you install WordPress, it will show as secure. Let’s start installing WordPress.
Go to the Hostinger dashboard, click on Website, add a new website, and choose WordPress.
You will now see this type of interface:
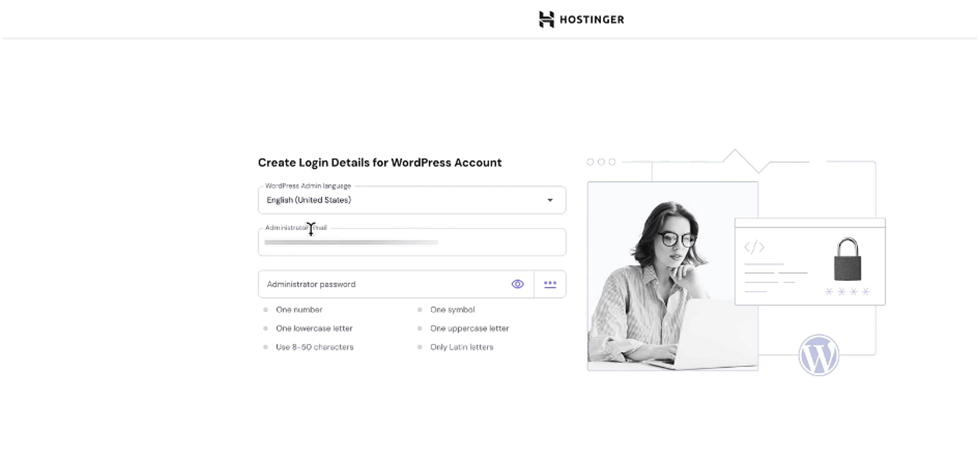
This format asks for a login password, which you set before. Set a password and click Next.
Now choose what type of website you want to make or choose blank and submit your domain. Then click Next.
After submitting, click Next. wait for my next blog will learn about how we build website with WordPress , if you want to read previous blog click here
Here, you need to wait for some time, and you will see WordPress is installed. Congratulations, WordPress is installed on your domain.
Desclaimer
The information provided in this blog is for educational and informational purposes only. While we strive to ensure the content is accurate and up-to-date, we do not guarantee its completeness or reliability. Readers are encouraged to verify any information before making decisions related to hosting or website development.
We are not affiliated with or endorsed by Hostinger, and this blog is based on personal experience and research. Any actions taken based on the content of this blog are at your own risk. We shall not be held liable for any loss or damage incurred as a result of using this information.
For technical issues or concerns, please refer to Hostinger’s official support team or website.