Unlocking the full potential of your WordPress website can be a game-changer for your online presence. But what happens when your site’s performance starts to lag? One of the common culprits could be the memory limit of your WordPress installation. When the memory limit is too low, it can lead to slow loading times, site crashes, and a frustrating user experience. In this article, we will show you how to Increase Memory Limit for enhanced performance on your WordPress site.
By increasing the memory limit, you can ensure that your website runs smoothly, handles heavier traffic loads, and delivers seamless user engagement. Whether you’re a seasoned WordPress user or a beginner, this step-by-step guide will walk you through the process of increasing the memory limit. We will explore various methods, including editing your wp-config.php file, using a plugin, and optimizing your server settings. By the end of this article, you’ll have the tools and knowledge to boost your website’s performance and unlock its full potential with ease. So let’s get started and optimize your WordPress site for better speed and performance!
Understanding the Importance of Memory Limit in WordPress
WordPress, like any other web application, needs a certain amount of memory to function properly. This memory is used for running plugins, themes, database queries, and more. When your website exceeds the allocated memory limit, it can result in performance issues such as slow loading times, crashes, or even errors. The memory limit defines the maximum amount of memory that WordPress can use for its operations.
Increasing the memory limit allows WordPress to handle more complex tasks, such as running resource-intensive plugins or managing large volumes of traffic, without encountering issues.
Signs That Your WordPress Website May Need a Memory Limit Increase

If your website is struggling to perform or showing certain issues, it may be due to a low memory limit. Some common signs that your WordPress website needs a memory limit increase include:
- White Screen of Death (WSOD): If you see a blank page instead of your website, it could indicate that WordPress is running out of memory.
- Slow Loading Times: If your website is loading slower than usual, it may be a result of insufficient memory.
- Plugin or Theme Errors: If certain plugins or themes are malfunctioning, it may be due to the system not having enough memory to load them properly.
- Internal Server Errors (500): This can sometimes happen when WordPress exceeds its memory allocation.
How to Check the Current Memory Limit of Your WordPress Website
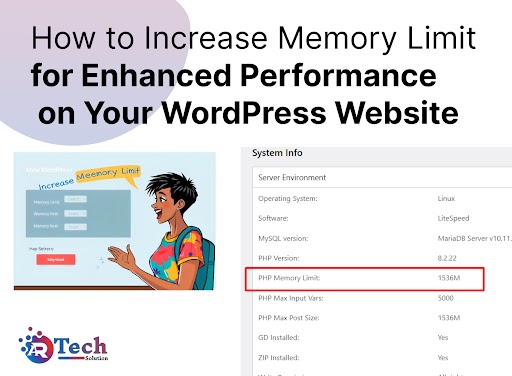
Before increasing the memory limit, it’s important to check the current settings. There are several ways to do this:
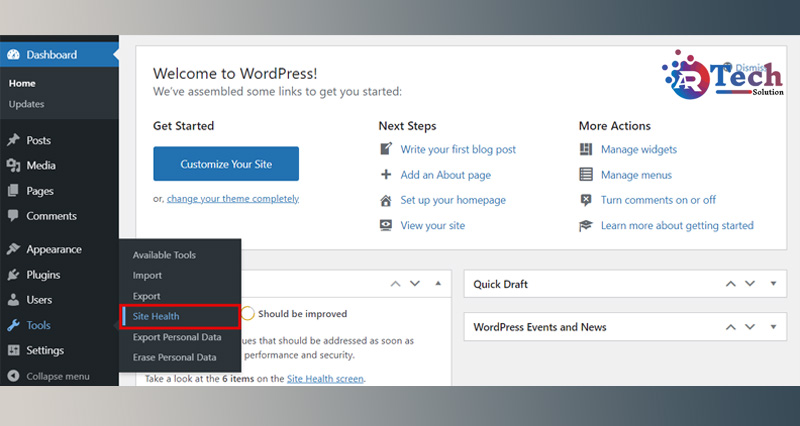
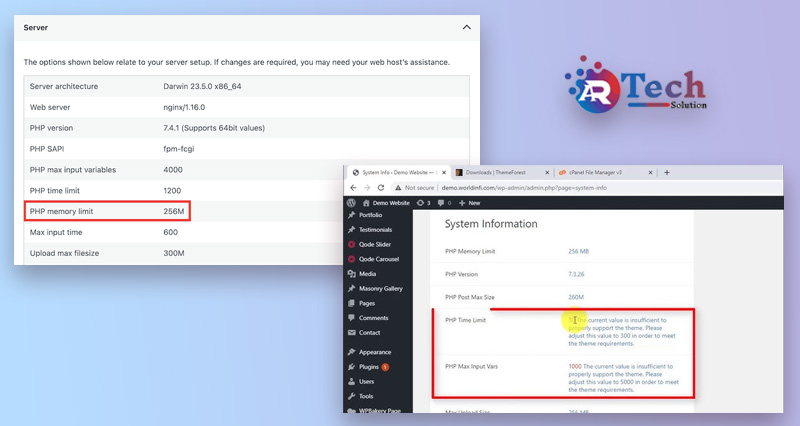
- Check in WordPress Dashboard: You can check the memory limit directly from your WordPress dashboard by installing the Site Health plugin, which will display your server’s PHP memory limit under the “Info” tab.
- Check the phpinfo(): You can also check the memory limit by creating a phpinfo.php file and uploading it to your site’s root directory. This will show you the memory settings configured on your server.
Increase Memory Limit Through the wp-config.php File
The easiest way to increase the memory limit in WordPress is by editing the wp-config.php file, located in the root directory of your WordPress installation. Here’s how to do it:
- Access Your wp-config.php File: You can access this file using an FTP client (like FileZilla) or through your hosting provider’s file manager.
Edit the File: Open the wp-config.php file and add the following line just before the line that says “/* That’s all, stop editing! Happy publishing. */”:
php
Copy code
define(‘WP_MEMORY_LIMIT’, ‘256M’);
- This increases your memory limit to 256MB. You can adjust the value depending on your needs.
- Save Changes: Save the file and upload it back to your server.
Increase Memory Limit Through the php.ini File
If editing the wp-config.php file doesn’t work, you can try increasing the memory limit via the php.ini file, which controls PHP settings on your server. Here’s how:
- Locate the php.ini File: If you’re on a shared hosting environment, you may not have direct access to this file. In that case, you can create your own php.ini file in the root directory of your WordPress installation.
Edit the File: Add the following line to increase the memory limit:
ini
Copy code
memory_limit = 256M
- Save and Upload: After saving the changes, upload the file back to your server, or restart your server if needed.

Increasing the Memory Limit Through the .htaccess File
In some cases, you can increase the memory limit by editing your .htaccess file. This file is located in the root directory of your WordPress installation. Follow these steps:
- Access the .htaccess File: Use an FTP client or file manager to access the .htaccess file. If you can’t find it, make sure your FTP client is set to show hidden files.
Edit the File: Add the following line to the .htaccess file:
apache
Copy code
php_value memory_limit 256M
- Save Changes: Save the file and upload it back to the server.
Recommended Memory Limit Settings for Different Types of Websites
The amount of memory your WordPress site requires can vary based on the size and complexity of your website. Here are some general guidelines:
- Small Websites: 64MB – 128MB should be sufficient for basic WordPress sites with minimal plugins.
- Medium-Sized Websites: 128MB – 256MB is ideal for sites with several plugins, custom themes, or moderate traffic.
- Large Websites or High-Traffic Sites: 256MB – 512MB is recommended for sites with heavy traffic, large databases, or resource-intensive plugins (e.g., WooCommerce).

Other Ways to Optimize WordPress Performance (Increase Memory Limit)
While increasing the memory limit is an effective way to enhance your website’s performance, there are other optimization strategies to consider:
- Use a Caching Plugin: Implement a caching plugin like WP Rocket or W3 Total Cache to reduce load times.
- Optimize Your Database: Use plugins like WP-Optimize to clean up and optimize your WordPress database.
- Use a Content Delivery Network (CDN): A CDN like Cloudflare or KeyCDN can help reduce load times by serving your website from multiple global locations.
- Enable GZIP Compression: Compressing files before they are sent to the browser can speed up loading times.
Conclusion: Enjoy a Faster and More Efficient WordPress Website with an Increased Memory Limit
By increasing the memory limit for your WordPress site, you can significantly improve its performance, handle higher traffic loads, and ensure a seamless user experience. Whether
more info to visit :- www.thearinfotech.com
Top SEO Interview Q&A: Ace Your Next SEO Job Interview Prep


